Here is a cool not really nail art design that;s mostly a gray shimmer with a few textural elements of interest. I painted 4 of the five nails with Julep "Devon" and the fifth with L'Oreal's "The Reign of Studs." It's a really cool purple textured polish that doesn't need any colored base beneath. As for the ring finger texture, that is a feather! I got the Ciate feather manicure kit form a friend, but you could use your own (Clean) feather. Just put down a base color, put some topcoat on that, stick the feather to the topcoat, trim it down and add more topcoat on top. Awesome!
Showing posts with label Glitter. Show all posts
Thursday, December 18, 2014
Friday, November 28, 2014
Thanksgiving NOTD
These were my nails of the day (NOTD) for thanksgiving. A really simple rose gold look with rhinestones. To begin, I painted my nails with a basecoat, then "Dancing Nails" by Sinful Colors and "Shimmering Shale" by Mineralfusion. Never in my entire 4.5 years of studying geology have I ever seen a rose gold, glittery shale, but I digress. It's a really pretty glitter. Then I just added the black and gray rhinestones to the bottom of each nail. Easy.
This look is festive and fancy, but definitely not specific to the winter holiday season. Any kind of special occasion where it's okay to get a little bit tacky works with these nails.
Sunday, October 19, 2014
Galaxy Nails and New Logo!
Here is my take on the very popular Galaxy nail art. After a little experimentation today, I figured out some preferences, what looks good and what does not. I figured out:
-Black is a much better backdrop than dark blue
-Add white to the black before adding a sheer polish of another color
-An eraser at the end of a pencil works much better than a dotting tool for adding planets
-Too many large stars detracts from the effect
-Adding a finely milled glitter top coat really ties it all together. I used Sally Hansen "Disco Ball" for this.
-To get a neater look, add colors in band across the nail, much like how galaxies really look in the night sky
Look to your upper right. See my new logo? I'd like to thank Danny Anduza, my wonderful boyfriend, (www.dannyanduza.com) for making it for me. Soon, maybe, this blog will be a respectable, professional looking thing with a cool background and watermarks and such. Also, I shot these images with my new Canon Powershot camera, so no more cell phone pictures! Yay!
-Emmy
-Black is a much better backdrop than dark blue
-Add white to the black before adding a sheer polish of another color
-An eraser at the end of a pencil works much better than a dotting tool for adding planets
-Too many large stars detracts from the effect
-Adding a finely milled glitter top coat really ties it all together. I used Sally Hansen "Disco Ball" for this.
-To get a neater look, add colors in band across the nail, much like how galaxies really look in the night sky
Look to your upper right. See my new logo? I'd like to thank Danny Anduza, my wonderful boyfriend, (www.dannyanduza.com) for making it for me. Soon, maybe, this blog will be a respectable, professional looking thing with a cool background and watermarks and such. Also, I shot these images with my new Canon Powershot camera, so no more cell phone pictures! Yay!
-Emmy
Sunday, September 21, 2014
The Jelly Sandwich Manicure
This manicure has been circulating beauty blogs and nail art YouTube channels for some time now, so I thought I would show you the glittery blue version I did yesterday. The concept is simple: Layer a glitter polish between an opaque polish and a sheer, jelly finish type polish. What I like about the finished result is that chunky glitter seems less textured on the nail and in my case, the jelly polish I chose made my glitter seem even more vivid and intense.
For my opaque polish I chose Layla "Aqua Zen" which is a bluish creme polish that dries almost matte. I guess you could call it a "satin" finish. My glitter is Nicole by O.P.I. in "A Million Sparkles." To get the application I did, I completely wiped off all glitter from one side of the brush and used a dabbing motion to pack glitter on each nail. On top is "Isle See You Later" by China Glaze. It's really sheer and I'm not even sure the glitter has a bluish tint at all, but it did really intensify the look of the glitter.
I think this manicure could also be really cool just applied as a french tip if you don't want the solid color plus glitter look.
For my opaque polish I chose Layla "Aqua Zen" which is a bluish creme polish that dries almost matte. I guess you could call it a "satin" finish. My glitter is Nicole by O.P.I. in "A Million Sparkles." To get the application I did, I completely wiped off all glitter from one side of the brush and used a dabbing motion to pack glitter on each nail. On top is "Isle See You Later" by China Glaze. It's really sheer and I'm not even sure the glitter has a bluish tint at all, but it did really intensify the look of the glitter.
I think this manicure could also be really cool just applied as a french tip if you don't want the solid color plus glitter look.
Monday, August 11, 2014
Recent Nail Art
I guess I've been doing a lot of nail art lately, so I am just going to show you three designs I've done lately with some thoughts about the polishes and tools I used for them.
1. Star Trek Galaxy Nails
For the pink base on the pinkie, middle and index, I used Zoya "Dot." For the galaxy nails, I stamped some blue and purple neon polish on the nails, added stars with a white striper and added glitter with Sally Hansen "Disco Ball." For my starfleet uniform nail, I painted the nail blue Julep "Iona"and added a wavy black line to the tip. For the Commbadge, I cut up a nail sticker in the desired shape and put it on the nail.
I freehanded the Enterprise with a black nail art pen and covered it with the same glitter as the galaxy nails.
2. Starfleet Uniform Nails
A simpler version of the ring finger on the previous design with red, yellow and blue polishes. I suppose you could add some rhinestones to show ranks on some of your nails.
3. Neon Leopard Print
These I did with my Kleancolor neon polishes, white striper and black nail art pen. The key to this look is a high density of spots.
1. Star Trek Galaxy Nails
For the pink base on the pinkie, middle and index, I used Zoya "Dot." For the galaxy nails, I stamped some blue and purple neon polish on the nails, added stars with a white striper and added glitter with Sally Hansen "Disco Ball." For my starfleet uniform nail, I painted the nail blue Julep "Iona"and added a wavy black line to the tip. For the Commbadge, I cut up a nail sticker in the desired shape and put it on the nail.
I freehanded the Enterprise with a black nail art pen and covered it with the same glitter as the galaxy nails.
2. Starfleet Uniform Nails
A simpler version of the ring finger on the previous design with red, yellow and blue polishes. I suppose you could add some rhinestones to show ranks on some of your nails.
3. Neon Leopard Print
These I did with my Kleancolor neon polishes, white striper and black nail art pen. The key to this look is a high density of spots.
Labels:
Glitter,
Julep,
Kleancolor,
Nail Art,
Nail Stickers,
Neon,
OPI,
Sally Hansen,
Zoya
Monday, July 14, 2014
Abstract Dreamcatcher Nails
Here is my companion piece to the dotted bow nails, a slightly less girly mix and match manicure in pink and aqua. I used a detail paintbrush, a cosmetic sponge and some rhinestones as far as tools needed for these nails.
Materials and methods, from right to left:
Thumb: Two coats of OPI's "Got a Date To-Knight," seal with matte topcoat, gold glitter gradient with Orly FX "Too Fab" on top 2/3 of nail.
Pinky and pointer: 2 coats of Sally Hansen "White On." Load up cosmetic sponge with Layla "Aqua Zen" and "Got a Date To-Knight." Blend onto nail with sponge so that the aqua is on the tip of the nail. Seal with regular fast drying top coat.
Middle Finger: 2 coats of Essie's "Mint Candy Apple." Painted design with small nail detail brush and OPI's "Black Onyx." Three rhinestones were randomly placed on design and sealed in with more top coat.
Ring: 2 coats of Ulta's "High Roller," 2 coats of "Too Fab."
All the colors worked quite nicely together, except Aqua Zen. I was originally going to use it for the center nail, but it was too dark to contrast with the black to make the design pop. It works well as an ombre color on the sponge painted nails because blending it with a light pink and a white is much less dramatic.
More pictures of the nail art:
(I made the bracelet too. The band is copper I sawed cutouts from and the stone in the middle is a piece of buffalo jasper).
Materials used: Ciate fast drying top coat, Sally Hansen "White On" Orly matte top coat, Julep base coat, tweezers for rhinestone placement, wedge sponge for ombre nails, Essie "Mint Candy Apple"
OPI "Black Onyx" little plastic card sleeve for painting/mixing, Ulta "High Roller" OPI "Got a Date To-Knight" Orly "Too Fab" Layla "Aqua Zen."
Materials and methods, from right to left:
Thumb: Two coats of OPI's "Got a Date To-Knight," seal with matte topcoat, gold glitter gradient with Orly FX "Too Fab" on top 2/3 of nail.
Pinky and pointer: 2 coats of Sally Hansen "White On." Load up cosmetic sponge with Layla "Aqua Zen" and "Got a Date To-Knight." Blend onto nail with sponge so that the aqua is on the tip of the nail. Seal with regular fast drying top coat.
Middle Finger: 2 coats of Essie's "Mint Candy Apple." Painted design with small nail detail brush and OPI's "Black Onyx." Three rhinestones were randomly placed on design and sealed in with more top coat.
Ring: 2 coats of Ulta's "High Roller," 2 coats of "Too Fab."
All the colors worked quite nicely together, except Aqua Zen. I was originally going to use it for the center nail, but it was too dark to contrast with the black to make the design pop. It works well as an ombre color on the sponge painted nails because blending it with a light pink and a white is much less dramatic.
More pictures of the nail art:
(I made the bracelet too. The band is copper I sawed cutouts from and the stone in the middle is a piece of buffalo jasper).
Materials used: Ciate fast drying top coat, Sally Hansen "White On" Orly matte top coat, Julep base coat, tweezers for rhinestone placement, wedge sponge for ombre nails, Essie "Mint Candy Apple"
OPI "Black Onyx" little plastic card sleeve for painting/mixing, Ulta "High Roller" OPI "Got a Date To-Knight" Orly "Too Fab" Layla "Aqua Zen."
Labels:
Essie,
Glitter,
Nail Art,
OPI,
Orly,
Pastels,
Red Carpet Manicure,
Sally Hansen,
Ulta
Saturday, July 12, 2014
Dotted Bow Nails
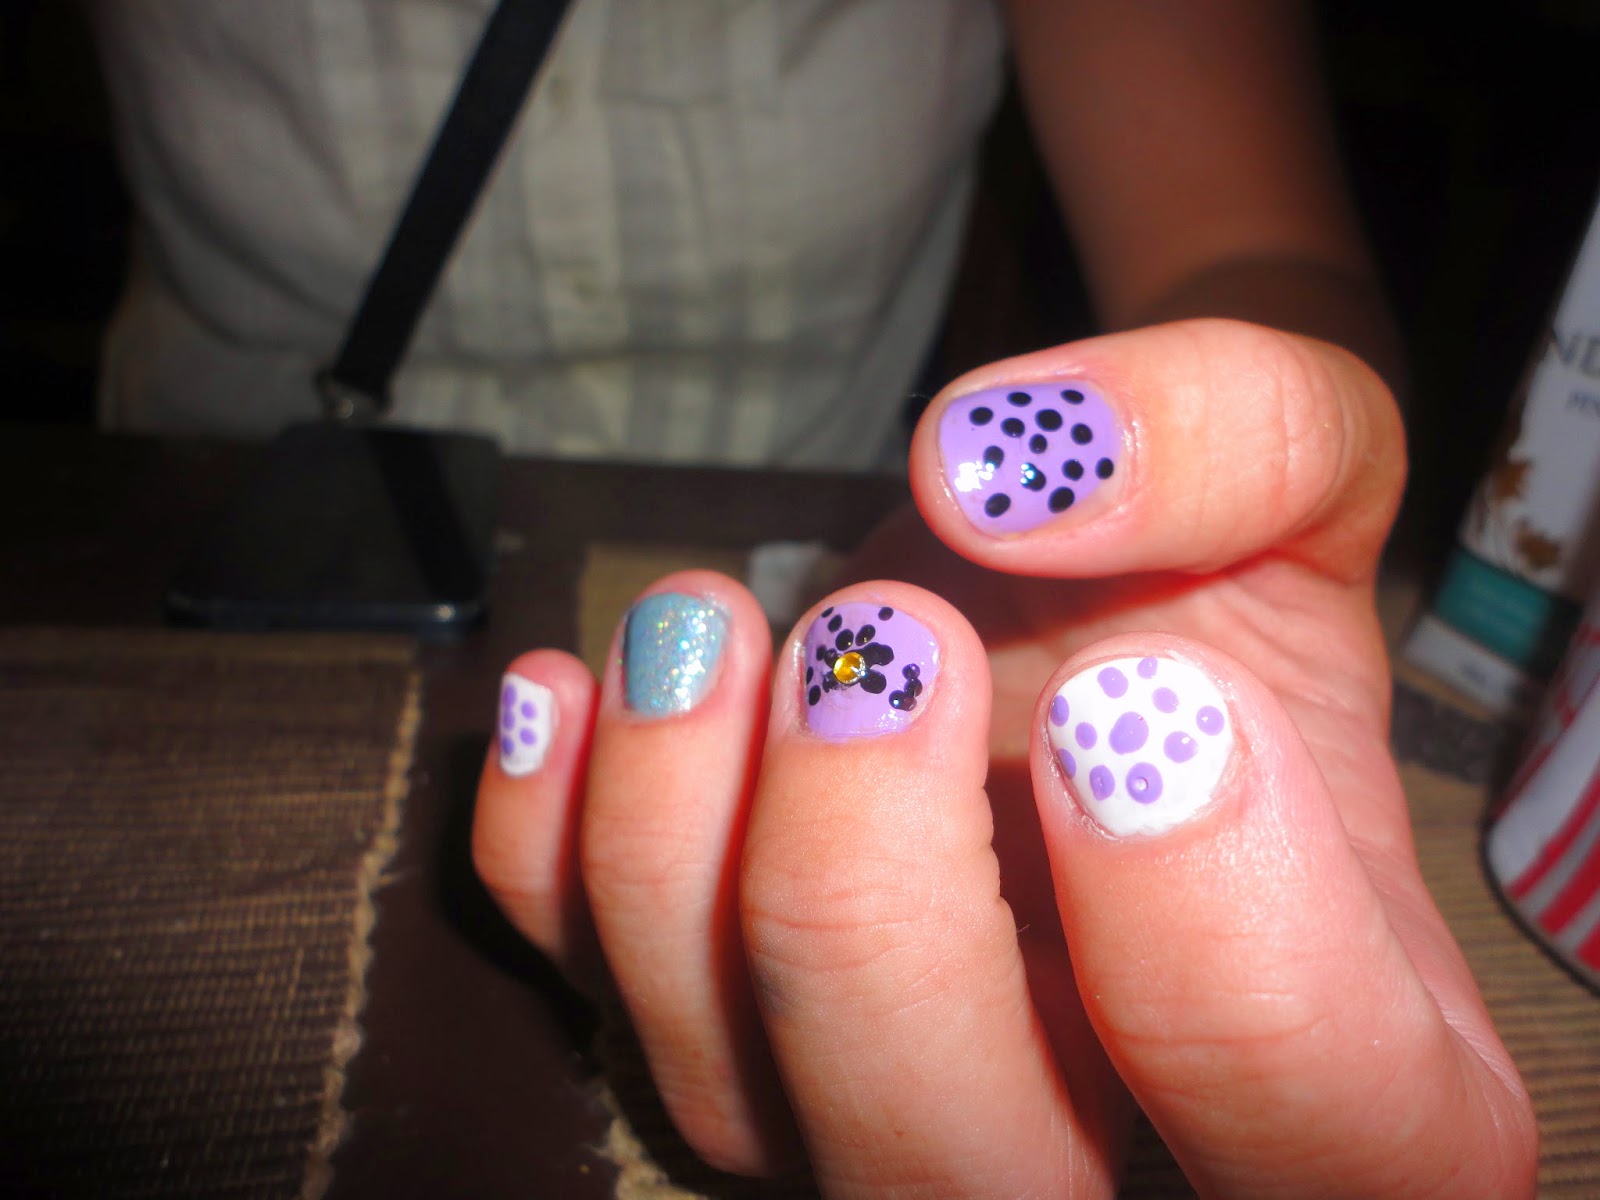
It's been a long, long while since I have picked up a dotting tool, and I thought tonight would be a great time to play around with polka dots and some new colors I picked up lately. Since dotting (for me) is a pain in the butt on my opposite hand, I used my friend Emma's fingers to try out this look. The design is loosely based on Youtuber Elleandish's bow nails, and the color scheme is just based on a few of my new polishes I thought would look good together.
For this look, I used:
-Julep in "Bergen"
-Sally Hansen Xtreme Wear in "White On" and "Disco Ball"
-Tweezers for placing gems
-Revlon in "Enchanted"
-OPI in "Black Onyx"
-A pink card protector (Dragon Shield brand) for a palette for dotting the colors
-Red Carpet Manicure brand dotting tool
-Some gold rhinestones
-Ciate fast drying topcoat
On the pinky and pointer: Two coats of White On, dots with small end of dotting tool in Enchanted.
On the ring finger: Two coats of Bergen and two coats of Disco Ball
On the thumb: two coats of Enchanted, small end of dotting tool dipped in Black Onyx
On the middle finger: two coats of enchanted, Large black dot in center of nail, small black dots in a bow shape around the central dot, gold rhinestone on top of the original large black dot.
Top coat on all of the nails once it dried.
More pictures of the finished manicure:
For this look, I used:
-Julep in "Bergen"
-Sally Hansen Xtreme Wear in "White On" and "Disco Ball"
-Tweezers for placing gems
-Revlon in "Enchanted"
-OPI in "Black Onyx"
-A pink card protector (Dragon Shield brand) for a palette for dotting the colors
-Red Carpet Manicure brand dotting tool
-Some gold rhinestones
-Ciate fast drying topcoat
On the pinky and pointer: Two coats of White On, dots with small end of dotting tool in Enchanted.
On the ring finger: Two coats of Bergen and two coats of Disco Ball
On the thumb: two coats of Enchanted, small end of dotting tool dipped in Black Onyx
On the middle finger: two coats of enchanted, Large black dot in center of nail, small black dots in a bow shape around the central dot, gold rhinestone on top of the original large black dot.
Top coat on all of the nails once it dried.
More pictures of the finished manicure:
I really like the new polishes I used. Disco ball was a little disappointing because I thought it would be more full coverage based on how it looked in the bottle, but layered over the silver polish it actually looked really cool. This is a really good look for any nail length as you can add as many or as few dots to the nails as you think looks good.
Labels:
Ciate,
Glitter,
Julep,
Nail Art,
OPI,
Red Carpet Manicure,
Revlon,
Sally Hansen
Monday, May 12, 2014
Wedding Nails
My friend just got married on Saturday (Congratulations Maggie)! and I got to be a bridesmaid. I did all of the nails and makeup for the bridal party that day. My color palette was pretty simple: we stuck with silver, blue and white. All of the girl's nails were those colors, but everyone's manicure was different from the pedicure and nobody had the same design. I'd say the nails that got the most complements were my silver and white glitter gradient nails. I used a very cheap white polish from Jordana that I still have in my little purple caboodle at my parent's house and I picked up Essie's "Set in Stones" for the occasion at Walgreens.
The white Jordana polish actually really impressed me. Sure, it is streaky and a little uneven, but with a glitter top coat and a regular top coat (I used Sally Hansen tough as nails for this look), it all evens out and looks good. White even makes your skin tone look darker in contrast, which is nice at this stage in spring.
Set in Stones is a really nice one in the Essie luxe effects collection. I like that there is a variety of glitter sizes, ranging from big hex glitters to very fine glitters less than a millimeter wide. It is perfect for the gradient look I was going for.
To recreate this look, paint your nails one solid color (like white) and then once that dries, do one coat of glitter on the top 2/3 of the nail. Then go back and concentrate more glitter at the tip of the nail.
Saturday, March 22, 2014
Wet N' Wild- Sunny Side Up
This polish is from the Wet n' Wild Wild Shine line, which is the 99 cent core collection from this brand. That being said, I think these polishes are a fairly good value.They are a little translucent and streaky, taking about 3 or 4 coats to look opaque. This particular polish also has a tendency to stain the nail, so apply a basecoat.
However, the color is unique in my collection. It is the only light orange I have. The wear is not great, so I also recommend a topcoat. I added some glitter: Nicole by OPI's Be Awesome and Love Your Life for a chunky and a finer milled glitter.
Sunday, February 16, 2014
Frostbite Nails
In honor of the polar vortex, I give you these frostbitten nails. I went for "Hidden Reef" by Sparitual as my pink color (not really a YNBB) and my dark gray glitter is "Glitz Gal" from the Sally Hansen Gem Crush collection. I did not use a makeup sponge for this one. the trick is to make the bottom of your gradient uneven because unlike other glitter polishes, this one actually has a dark gray base the glitters reside in, so it would look really weird if you made your gradient in a perfect straight line across your nail.
Saturday, January 25, 2014
The Color Workshop in "Leopard Lovin'"
This is the very last of the trio of unnamed Color Workshop polishes that I have written about. For the sake of having something intelligent to say about this polish, I incorporated it into my version of MissJenFabulous' valentines day manicure. Unlike Jenny, I actually cite where I got the ideas for my nail art. (http://www.youtube.com/watch?v=nW7VilLcy3Y)
Now, about the polish: This third color workshop polish is an extremely gold shimmer polish. To show just how sheer it is, I did not put a white base underneath. There are three coats of the gold on each nail pictured below. One thing I do like about the polish is that it holds up well to the rigors of my job. The picture was taken after 3 hours of catering a private reception for Lady Antebellum just before her concert here in town.
The things I did differently than MissJenFabulous in this nail art look were that I used a heart glitter on my red nail rather than painting a big stupid heart on it. I also prefer to use a nail art pen instead of a striper brush when I do animal prints.
Now, about the polish: This third color workshop polish is an extremely gold shimmer polish. To show just how sheer it is, I did not put a white base underneath. There are three coats of the gold on each nail pictured below. One thing I do like about the polish is that it holds up well to the rigors of my job. The picture was taken after 3 hours of catering a private reception for Lady Antebellum just before her concert here in town.
The things I did differently than MissJenFabulous in this nail art look were that I used a heart glitter on my red nail rather than painting a big stupid heart on it. I also prefer to use a nail art pen instead of a striper brush when I do animal prints.
Wednesday, November 20, 2013
Color Workshop- ???
I bought a set of three of these colors last year on ebay, just to try out the brand. I believe it was $7.50 USD for the set of three. The set came with a blue, gold and pink shimmer polish. This entry is about the pink polish. It is a sheer pink shimmer with some very finely milled gold glitter in it.
Overall, it is one of the most disappointing purchases of polish I have ever made. At least the pink is wearable. The pigmentation is very weak, however, so lots of coats had to be applied. Another word I would use to describe this polish is boring. Once all the coats are applied, you're left with a very unspecial pink shimmer polish. To spice things up a bit, I added a glitter gradient (Nicole by OPI- A Million Sparkles) to give my nails some interest. Pictures of the before and after glitter are below.
Monday, November 11, 2013
Nicole by OPI- Love Your Life
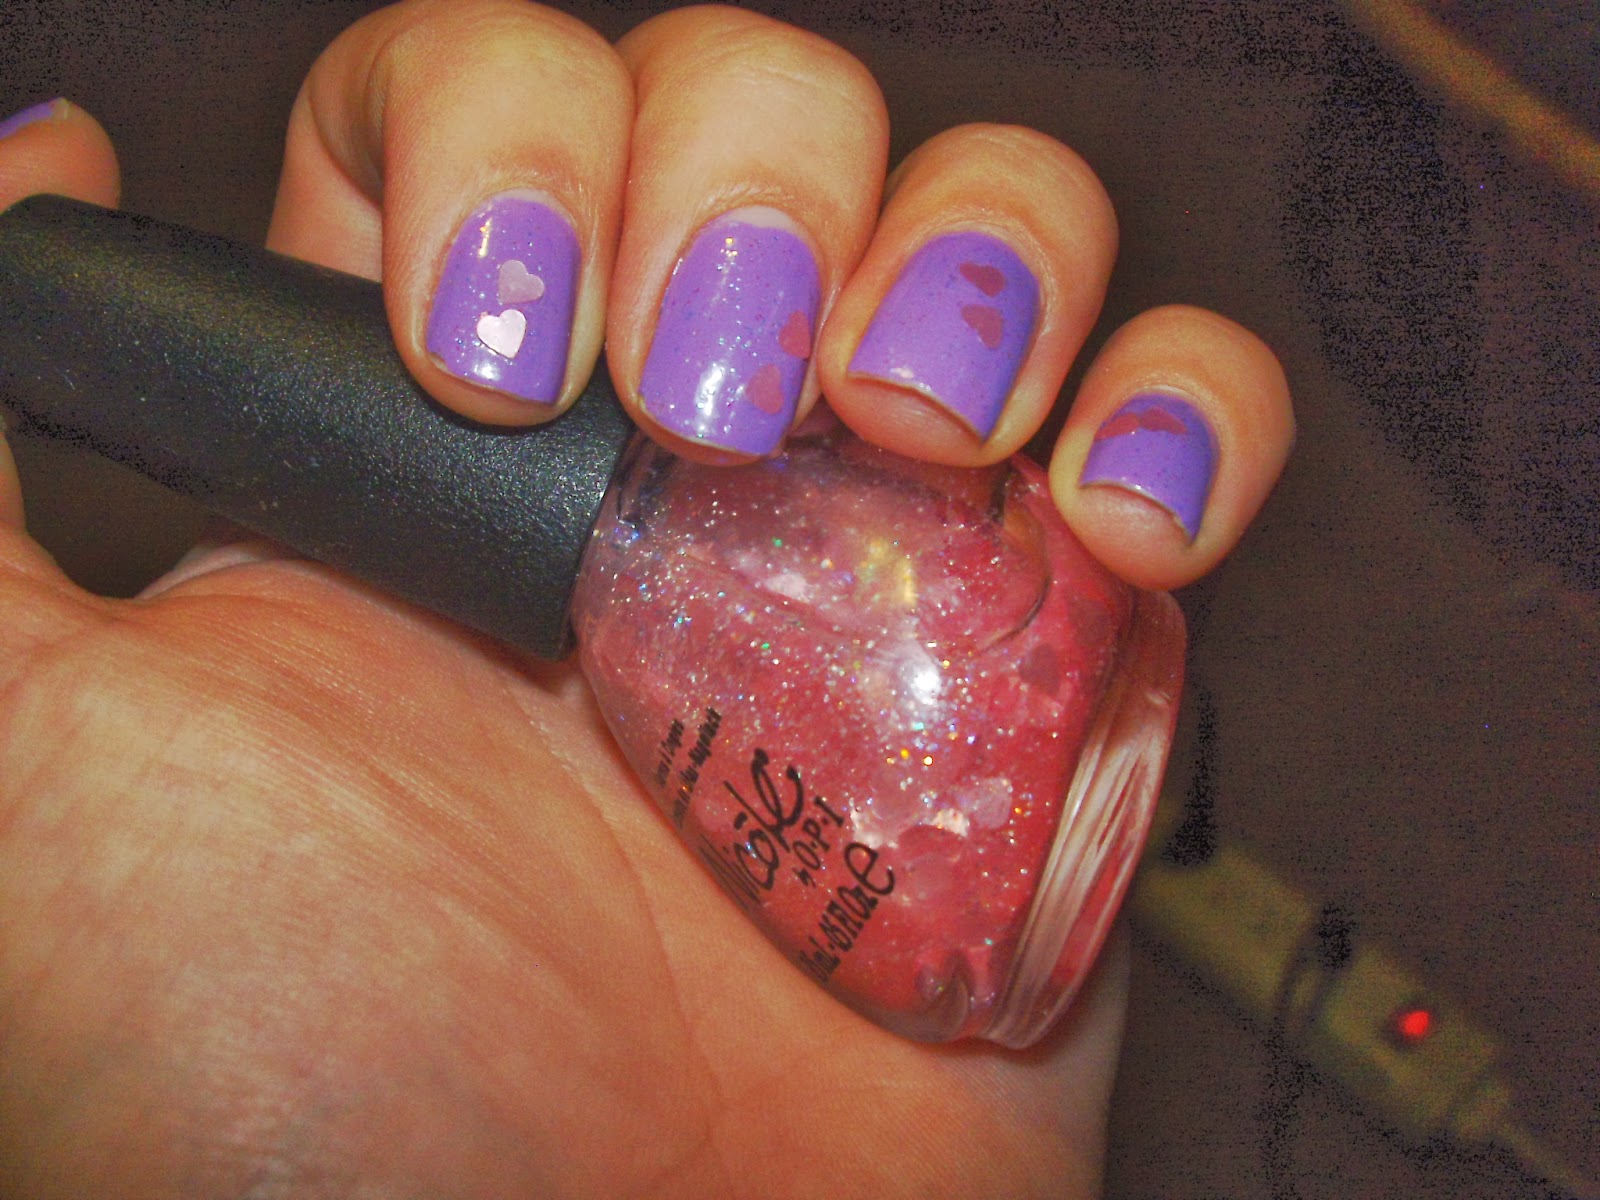
This is a pretty unusual polish and an interesting addition to the Nicole by OPI core collection. This polish features large, flat heart glitters and very fine pink, purple and holo glitters in a clear base. This is the first heart glitter I have seen in stores, and if I did not have a few other Nicole polishes, this would definitely make me curious enough to try the brand.
Like all the other Nicole polishes I own, the quality really impresses me. For the "cheaper" OPI line ($7.50 USD each), they have a lovely, strong formula and not one but two little marbles rolling around in there preventing it from drying. The fine glitters are a sure fire way to girlify any polish, because it is a glitter polish in a clear base, so it wouldn't make a big impact on its own. The only potential drawback to the polish is that the heart glitters are much heavier than the fine glitters and therefore, you are not guaranteed a heart in each coat.
This is fine if your taste level is a little bit more refined and subtle. However, if you wanted to do a special manicure for Valentine's day or something, I recommend using an orange stick to pick up individual hearts from the bottle and placing them on your nails.
Like all the other Nicole polishes I own, the quality really impresses me. For the "cheaper" OPI line ($7.50 USD each), they have a lovely, strong formula and not one but two little marbles rolling around in there preventing it from drying. The fine glitters are a sure fire way to girlify any polish, because it is a glitter polish in a clear base, so it wouldn't make a big impact on its own. The only potential drawback to the polish is that the heart glitters are much heavier than the fine glitters and therefore, you are not guaranteed a heart in each coat.
This is fine if your taste level is a little bit more refined and subtle. However, if you wanted to do a special manicure for Valentine's day or something, I recommend using an orange stick to pick up individual hearts from the bottle and placing them on your nails.
Friday, November 8, 2013
Nicole By OPI- A Million Sparkles and Nabi- Purple II
A million Sparkles is a glitter polish that is part of the Nicole by OPI core collection. I do not believe it is a seasonal polish. The polish retails for $7.50 USD each, and is available at most drugstores, Ulta, and even Marshall's/T.J. Maxx/Ross! It is a mixture of red, yellow and blue glitters of various sizes and densities in a clear base, so definitely lay down a coat of a similar color before proceeding with glitter. Mine is "Plenty of Fish in the Sea" by Wet n' Wild.
Overall, I really like the versatility of this polish. Because it is mostly blue with gold and a bit of red, it looks cool with a lot of different colors underneath. Wear was pretty long, but since I messed up my ring finger on day 1, I did an accent nail the next day I wore it.
Nabi has approximately 30-something shades of magnetic polishes, which when they were released retailed for about $USD, but now are about $2 USD. The nice thing about them is the variety of different magnets they come with, so you do not have to use the one on the cap, which is often frustrating. I used the one on the cap for reviewing purposes here and because I only did one nail. Purple II comes with a concentric circle magnet.
Once you get over the weird color, the polish is pretty great. It dries fast, wears for a long time, and the magnet is easy to use. However, I just don't think it is the prettiest color out there. It's one of those shades of purple that kind of borders on dark brown. However, I recommend giving the whole Nabi selection of cheap magnetic polishes a try, and get them while you still can!
Overall, I really like the versatility of this polish. Because it is mostly blue with gold and a bit of red, it looks cool with a lot of different colors underneath. Wear was pretty long, but since I messed up my ring finger on day 1, I did an accent nail the next day I wore it.
Nabi has approximately 30-something shades of magnetic polishes, which when they were released retailed for about $USD, but now are about $2 USD. The nice thing about them is the variety of different magnets they come with, so you do not have to use the one on the cap, which is often frustrating. I used the one on the cap for reviewing purposes here and because I only did one nail. Purple II comes with a concentric circle magnet.
Once you get over the weird color, the polish is pretty great. It dries fast, wears for a long time, and the magnet is easy to use. However, I just don't think it is the prettiest color out there. It's one of those shades of purple that kind of borders on dark brown. However, I recommend giving the whole Nabi selection of cheap magnetic polishes a try, and get them while you still can!
Sunday, November 3, 2013
Essie- Naughty Nautical
Naughty Nautical is one of the polishes from Essie's summer 2013 collection. It should still be available at some places, although it might be on sale. It is a minty green color with just a hint of sparkle, achieved by a few very fine sparse glitters.
The color is very bright and pigmented, becoming opaque really only in one coat. The glitter really isn't noticeable on the nail, it just makes the formula seem shinier when applied.
The downsides to the formula are that the wear is not fantastic, starting with the tip wear, but also some pretty significant chips for me after a few minutes of doing dishes on some of my nails. Another downside is that there are a lot of different polishes out there right now that are very similar to this one. Without the glitter, I think the color would be exactly the same as Sally Hansen's "Mint Sprint."
The color is very bright and pigmented, becoming opaque really only in one coat. The glitter really isn't noticeable on the nail, it just makes the formula seem shinier when applied.
The downsides to the formula are that the wear is not fantastic, starting with the tip wear, but also some pretty significant chips for me after a few minutes of doing dishes on some of my nails. Another downside is that there are a lot of different polishes out there right now that are very similar to this one. Without the glitter, I think the color would be exactly the same as Sally Hansen's "Mint Sprint."
Saturday, October 26, 2013
Urban Outfitters- Afterhours
Yes, Urban Outfitters has their clothing house brands like BCG and Miss Sixty, and now instead of just carrying Stila and the occasional glittery Nyx palette, have their own polishes. The polishes retail for $5 USD each, but they often have 2/ $8 sales. I bought two of them to round out a gift card I was given for Christmas last year.
Afterhours is a mixture of silver and rainbow/holo glitters in a clear base. As with all glitters in a clear base, apply a coat of a similar creme or shimmer polish beforehand so get more opacity more quickly. The base layer I used was one thin coat of Ulta brand polish in "High Roller." The effect is extremely pretty, but just blurs with a camera flash, so I really had to experiment with exposures to get this polish to look like the color of my nails in the pictures.
The texture is very similar to OPI/Nicole's "liquid sand" polishes. If you like that effect, you can leave this polish as is, but if you want a lot of shine, you are going to have to apply 4 or 5 coats of a topcoat because this finely milled glitter is a topcoat eater.
Afterhours is a mixture of silver and rainbow/holo glitters in a clear base. As with all glitters in a clear base, apply a coat of a similar creme or shimmer polish beforehand so get more opacity more quickly. The base layer I used was one thin coat of Ulta brand polish in "High Roller." The effect is extremely pretty, but just blurs with a camera flash, so I really had to experiment with exposures to get this polish to look like the color of my nails in the pictures.
The texture is very similar to OPI/Nicole's "liquid sand" polishes. If you like that effect, you can leave this polish as is, but if you want a lot of shine, you are going to have to apply 4 or 5 coats of a topcoat because this finely milled glitter is a topcoat eater.
Wednesday, October 23, 2013
Butter London- Fizzy Pop
Fizzy Pop is one of the 3 (DBP, Toluene, Formaldehyde) free nail polishes by Butter London, which I believe is the only nail line they have. They recently switched from doing exclusively polish to color cosmetics too, which are really cool. I have to say purple mascara is not my thing, but I digress.
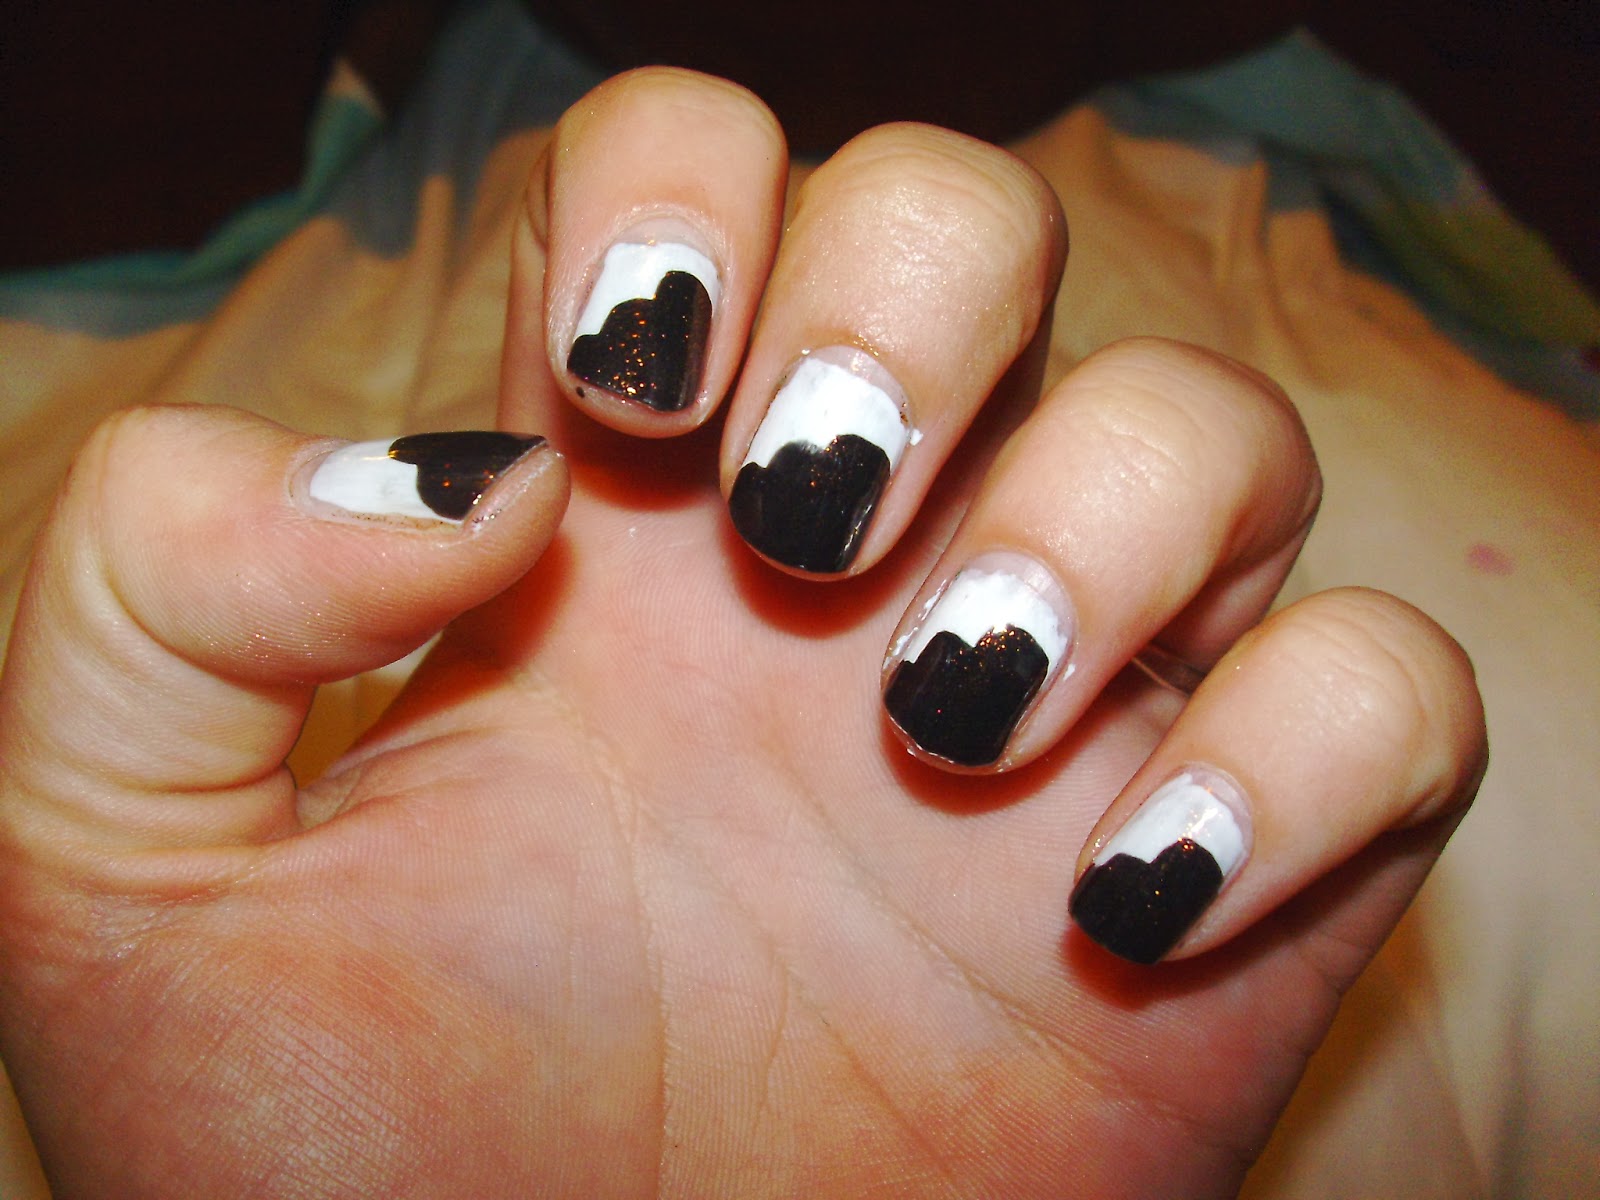
Fizzy Pop caught my eye at first because of the beautiful color visible in the bottle. It is a mixture of very fine gold and hologram glitters in a clear base. Because it is so sheer, I thought it needed a base that wouldn't detract from the color, such as black or white. Because a radically different (unless it is glitter) accent nail is so tacky, I chose to do a base layer nail in both black and white and layered fizzy pop on top of both polishes. I personally think it looks best over black. What do you think?
taken before I added Fizzy Pop.
After Fizzy Pop.
Subscribe to:
Posts (Atom)